Better input · 5 min
How to choose a photo for a hair color preview
Published August 3, 2026
A hair color app cannot recover detail that the source photo never captured. Before changing any shade, choose an image that makes the hair’s shape, texture, and lighting easy to read.
Prefer even, believable lighting
Soft window light or open shade often works well because it reveals highlights without blowing them out. Mixed lighting—a cool window on one side and a warm lamp on the other—can make the same shade appear different across the head. Strong backlighting can turn fine edges translucent and make the automatic hair selection less certain.
Avoid using a flash photo as the only reference if it creates a bright hotspot and deep surrounding shadows. The preview preserves the photo’s existing light, so an uneven source tends to produce an uneven-looking color effect.
Make the hair large enough to inspect
A head-and-shoulders or three-quarter portrait usually gives the editor enough detail while still showing how the color relates to the face and clothing. In a distant photo, a few pixels may represent an entire curl or flyaway. No brush tool can precisely recover a boundary that small.
Keep the full visible hairstyle in frame if length and ends matter to the decision. A tight crop can be useful for judging the hairline, but it will not show how the color reads across the complete shape.
Look for separation from the background
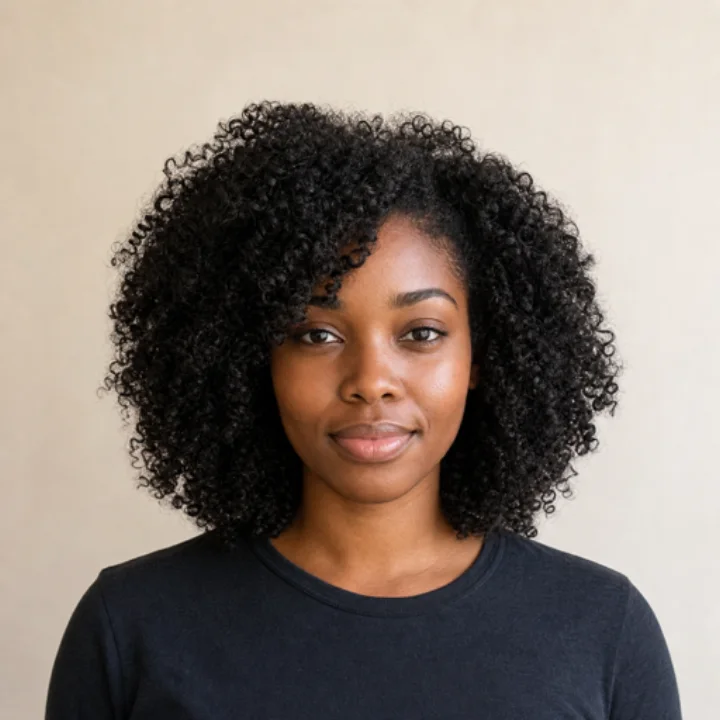
Dark hair against a nearly black wall or light hair against a bright sky can hide the outer boundary. Choose a photo where the background differs from the hair in brightness, color, or texture. The background does not need to be blank; it only needs to provide enough contrast around the silhouette.
Watch for clothing near the shoulders that matches the hair. If long dark hair rests on a dark jacket, the automatic selection may need more manual correction in that area. That does not make the photo unusable, but it increases the editing work.
Use one obvious subject
A group photo creates ambiguity about which person’s hair is the intended subject. Start with one person whenever possible. If the only available image contains several people, crop a new copy around the person you want to preview before opening it in the app.
Avoid blur, filters, and heavy compression
Motion blur smears the boundary between hair and background. Portrait-mode blur can also soften flyaways or accidentally blur parts of the hair. Social-media screenshots and repeatedly shared images may add compression blocks around edges. The editor will still work with an ordinary phone photo, but a clean original usually gives manual refinement more precise detail.
Beauty filters can change skin tone, hair sheen, and local contrast. If you want to compare a color against how you normally look, choose a photo without a filter that substantially alters those relationships.
Keep a second photo for confirmation
One preview is useful for narrowing directions. A second photo in different everyday lighting helps reveal whether the preference depends on a single image. Try the same two or three finalist shades on both photos rather than comparing dozens of options at once.
One person, visible hair, even light, useful background contrast, minimal blur, and enough framing to judge the hairstyle. If two of those are weak, choose another image before spending time on detailed corrections.
Know when manual refinement will still be needed
Fine flyaways, translucent edges, braids with open gaps, curls crossing the face, hats, and hair partly hidden behind the body are genuinely difficult shapes. A good photo reduces uncertainty but does not eliminate it. Use Add Hair and Remove Hair with a small brush around those areas, then check the result against the original with Compare.